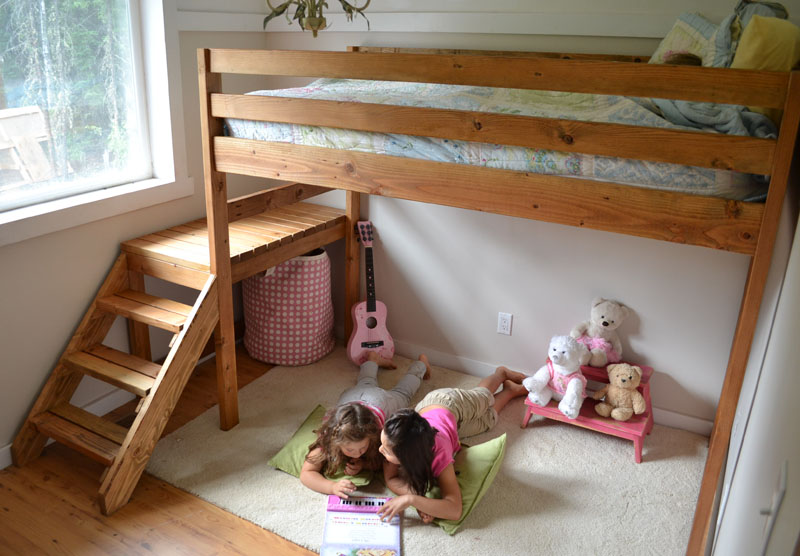
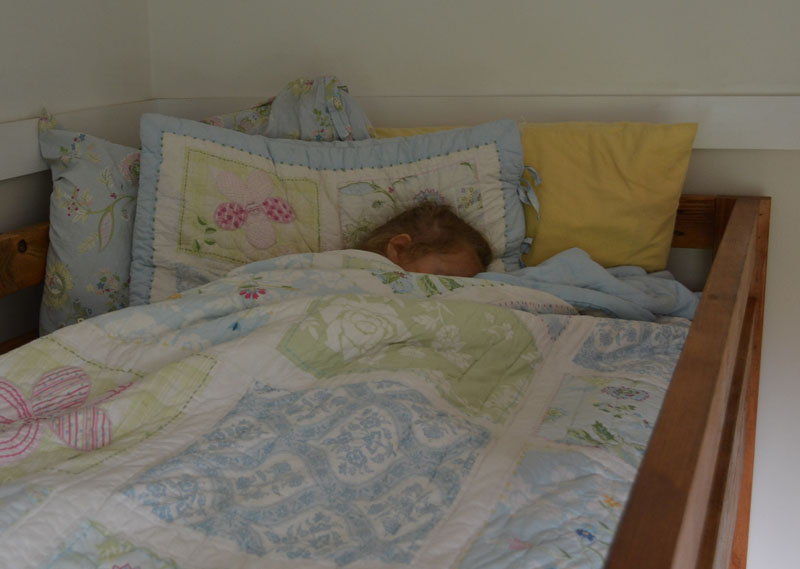
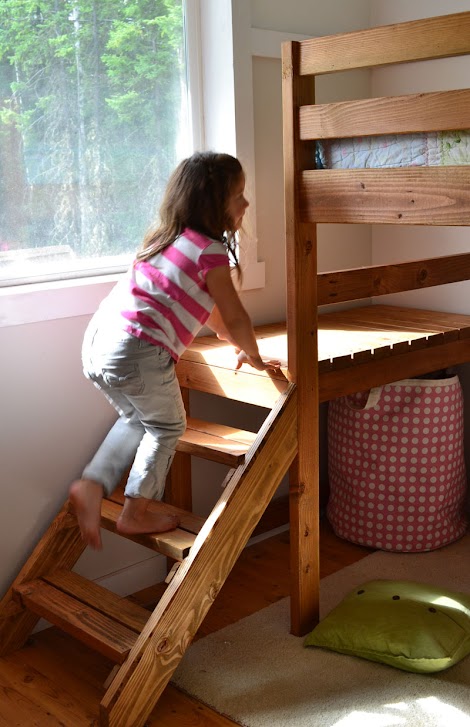
Camp Loft Bed with Stair, Junior Height
Submitted by Ana White on Wed, 2012-07-18 16:30About Project
Loft bed plans with stairs. Junior height loft bed plans free from Ana-White.com
Materials and Tools
Shopping List:
14 – 2x4 @ 8 feet long
4 – 2x6 @ 8 feet long
2 – 2x2 @ 8 feet long
1 – 1x2 @ 8 feet long
2 ½” PH screws
4 – 2x6 @ 8 feet long
2 – 2x2 @ 8 feet long
1 – 1x2 @ 8 feet long
2 ½” PH screws
Tools:
measuring tape
square
pencil
safety glasses
hearing protection
drill
circular saw
sander
countersink drill bit
Cut List
Cut List:
4 – 2x4 @ 65 ½”
2 – 2x6 @ 37 ½”
4 – 2x4 @ 37 ½”
4 – 2x4 @ 75”
2 – 2x6 @ 75”
2 – 2x2 @ 75”
2 – 2x4 @ 30 ½”
2 – 2x4 @ 37 ½”
1 – 2x4 @ 41 ½”
2 – 2x4 @ 20 ½”
12 – 2x4 @ 22”
2 – 2x6 @ 43” (both ends cut 45 degrees off square, ends NOT parallel) – to be trimmed down in later steps
6 – 1x2 @ 7 ¾” (both ends cut at 45 degrees off square
6 – 2x4 @ 20 ½”
General Instructions
Please read through the entire plan and all
comments before beginning this project. It is also advisable to review
the Getting Started Section. Take all necessary precautions to build
safely and smartly. Work on a clean level surface, free of
imperfections or debris. Always use straight boards. Check for square
after each step. Always predrill holes before attaching with screws.
Use glue with finish nails for a stronger hold. Wipe excess glue off
bare wood for stained projects, as dried glue will not take stain. Be
safe, have fun, and ask for help if you need it. Good luck!
Step 1
Step 3
Now here's where we skip the glue. To make this
loft bed easy to disassemble, I did not use glue here. The inside width
for the mattress area should be 39", insetting the side rails 1 1/4"
from outsides. I did this so your PH screws have lots of board to grab
into.
This bed has NOT been weight tested or guaranteed. If you feel you need extra support - add metal brackets under the 2x6s.
An alternative method is to attach metal bed brackets directly to the ends if you have those.
Notice the cleat is added in this step to. I used 2 1/2" screws and glue to attach, screws every 6-8" all the way down.
This bed is designed to work with a bunkie board, but we just used 2x6s cut to length as the bed slats.
Step 5
Step 7
Step 8
Step 9
Finishing Instructions
Preparation Instructions:
Fill all holes with wood filler and let dry. Apply
additional coats of wood filler as needed. When wood filler is
completely dry, sand the project in the direction of the wood grain with
120 grit sandpaper. Vacuum sanded project to remove sanding residue.
Remove all sanding residue on work surfaces as well. Wipe project clean
with damp cloth.
It is always recommended to apply a test coat on a hidden area or scrap
piece to ensure color evenness and adhesion. Use primer or wood
conditioner as needed.


1 comment:
I called and got a quote at menards. 54 dollars! Woop!
Post a Comment